Quick Start
Locating the Canon Scanner
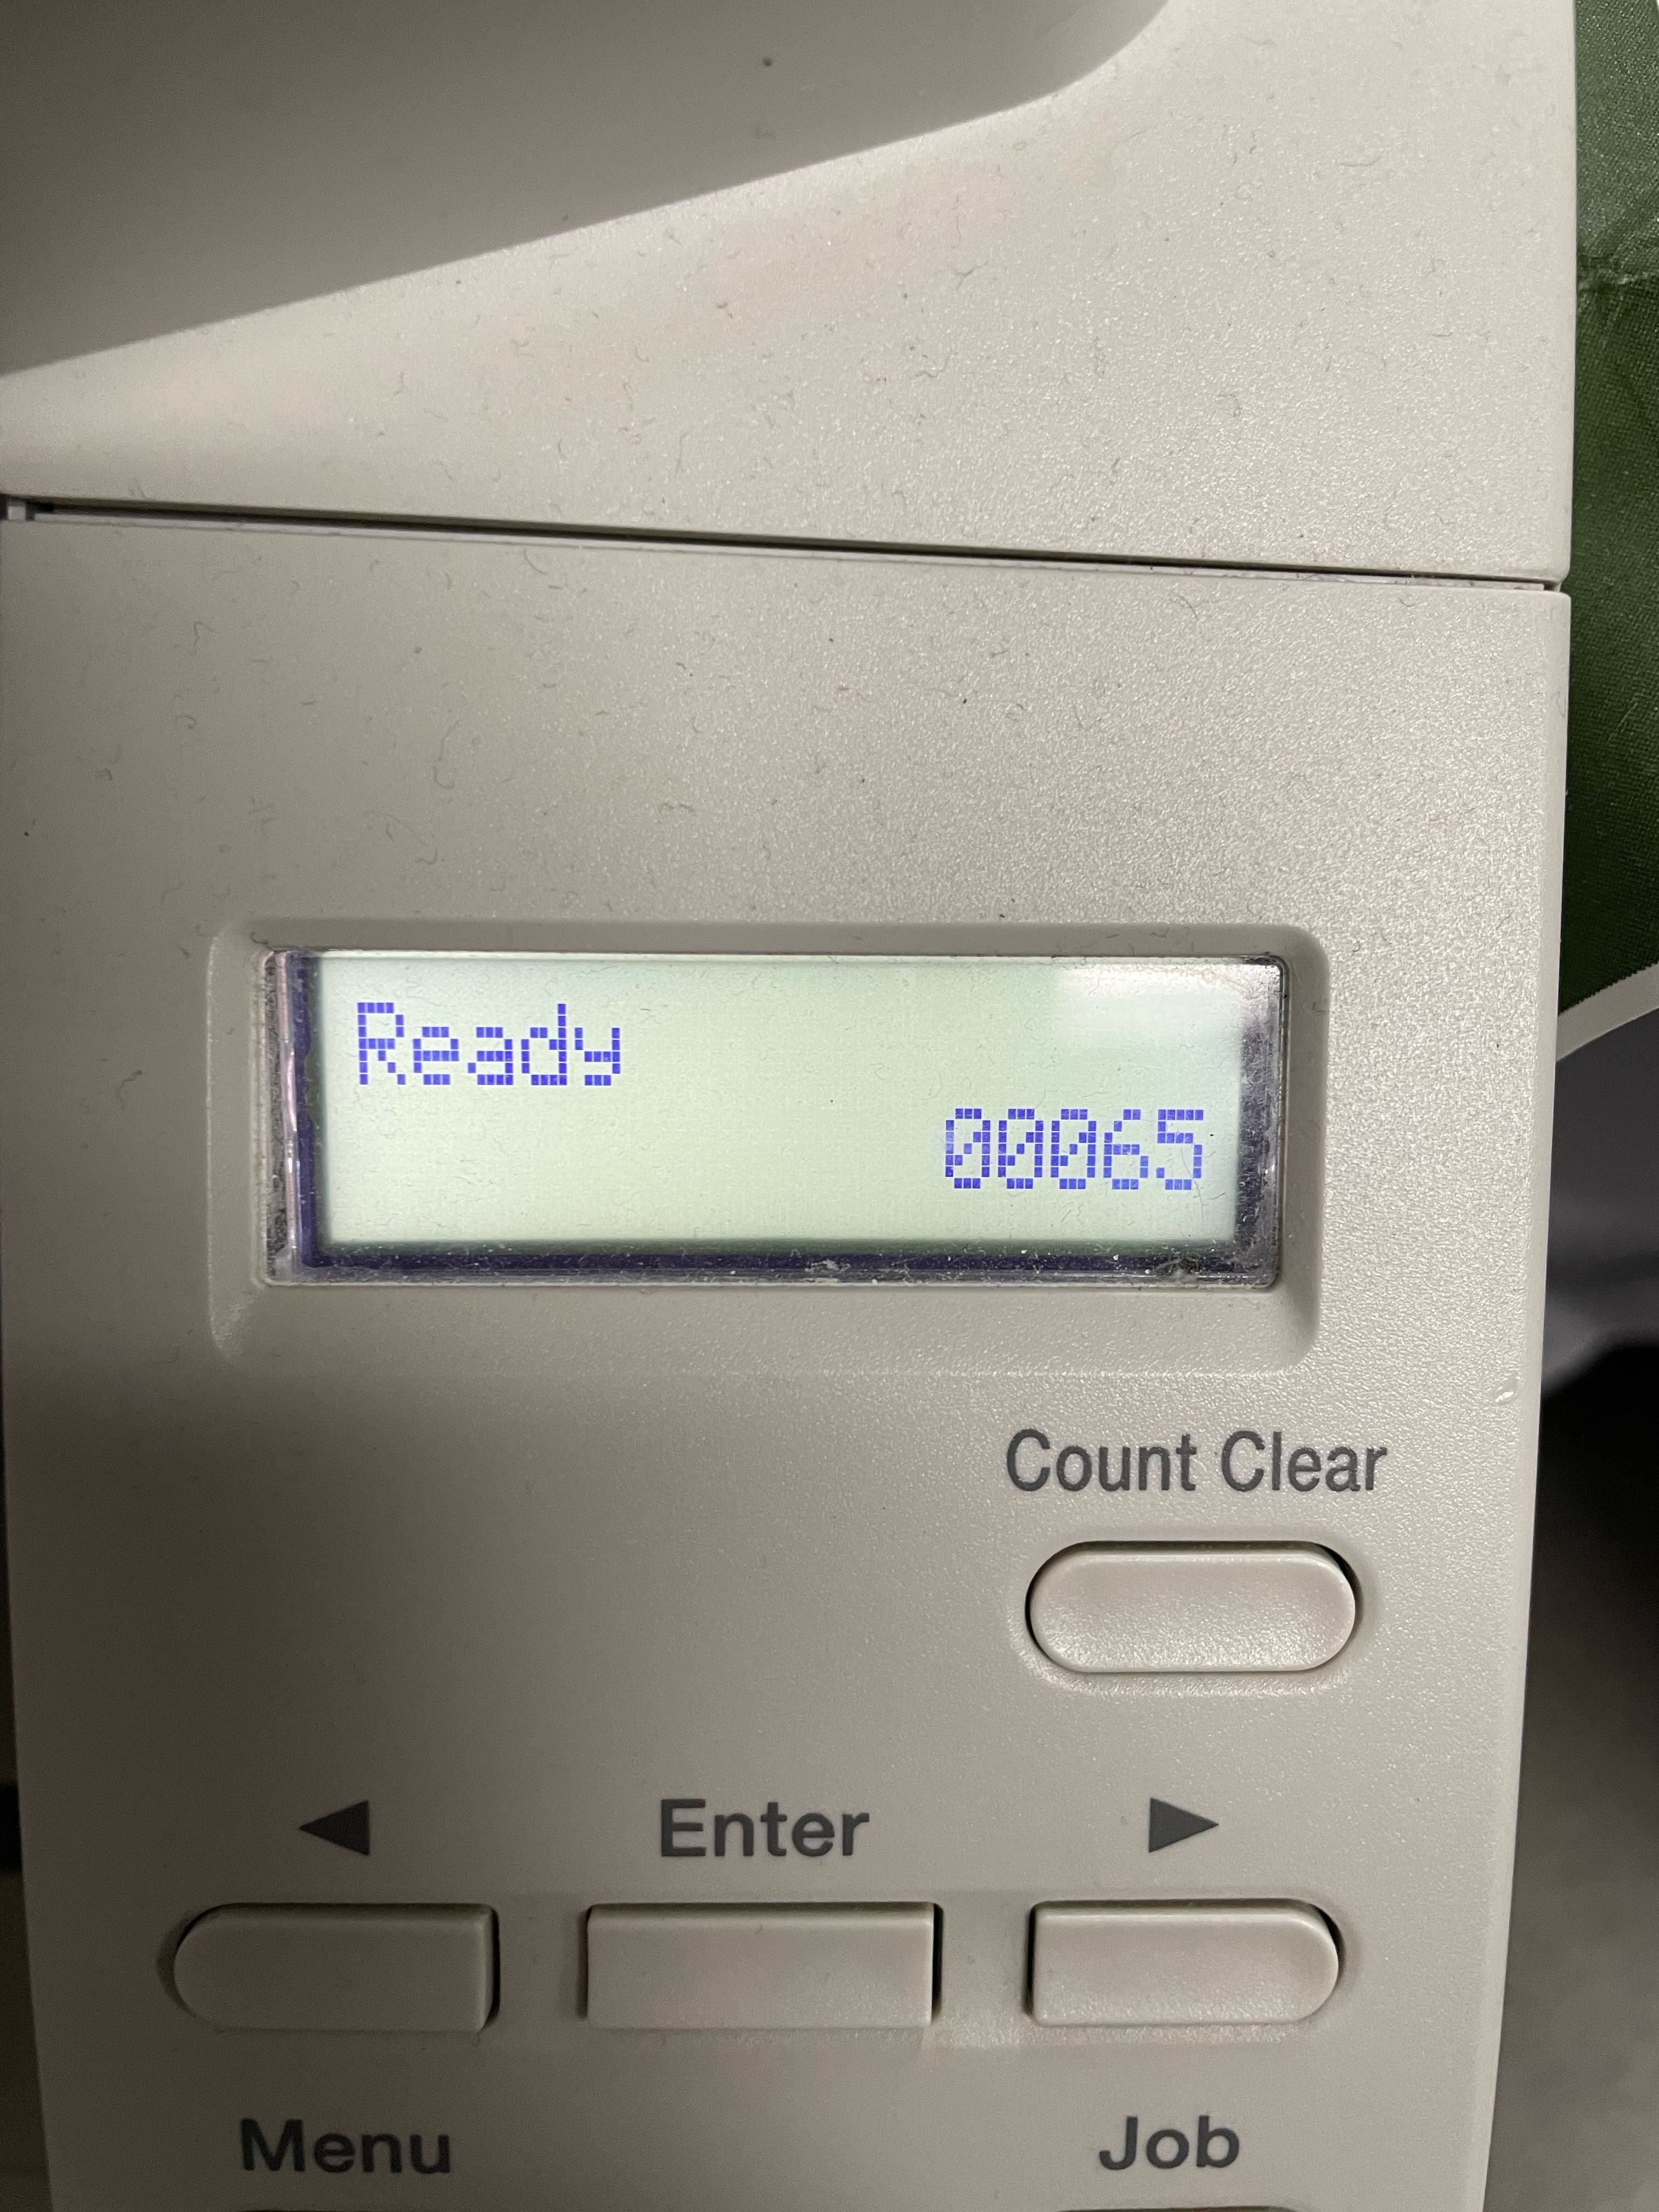
The Canon scanner is located left of the computer in MH420 and looks similar to the image below:

Power On
Please ensure the scanner is powered on and the LCD screen shows some numbers. This LCD panel shows the total number of documents scanned.
Login
After you have ensured that the scanner is powered on, you can head over to the PC and login with your Weber State credentials.
Getting Started
CapturePerfect 3.1
To get started scanning, you’ll need to load your records into the scanner face up.
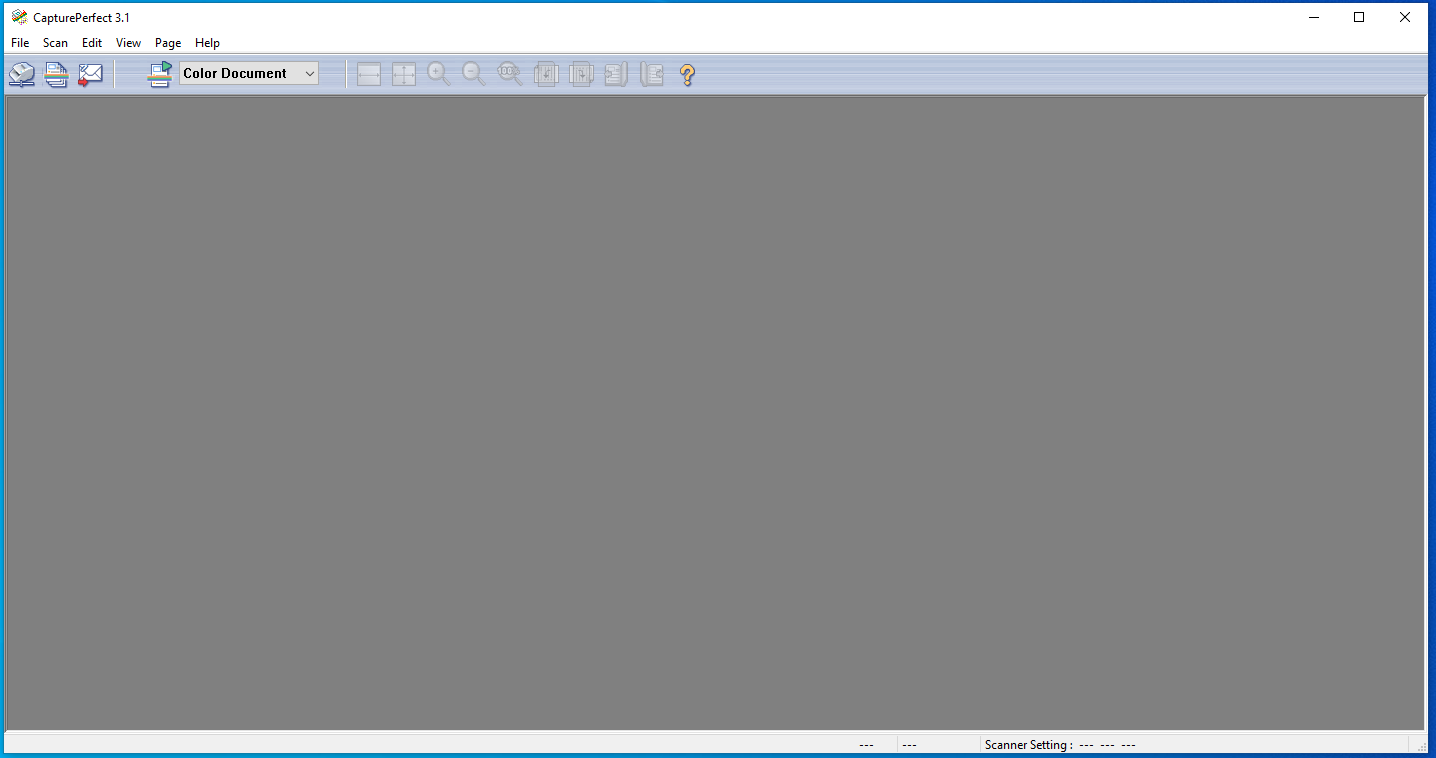
After logging in, please open the Canon scanning utility named as “CapturePerfect 3.1”
If you cannot locate the shortcut just search for the name in the Windows Start menu.
You cannot use Acrobat or Windows Scan tool with this scanner.

Utility
Once the Canon scan tool loads, you’ll see a screen like the one below:
Scanning Documents
Getting Started
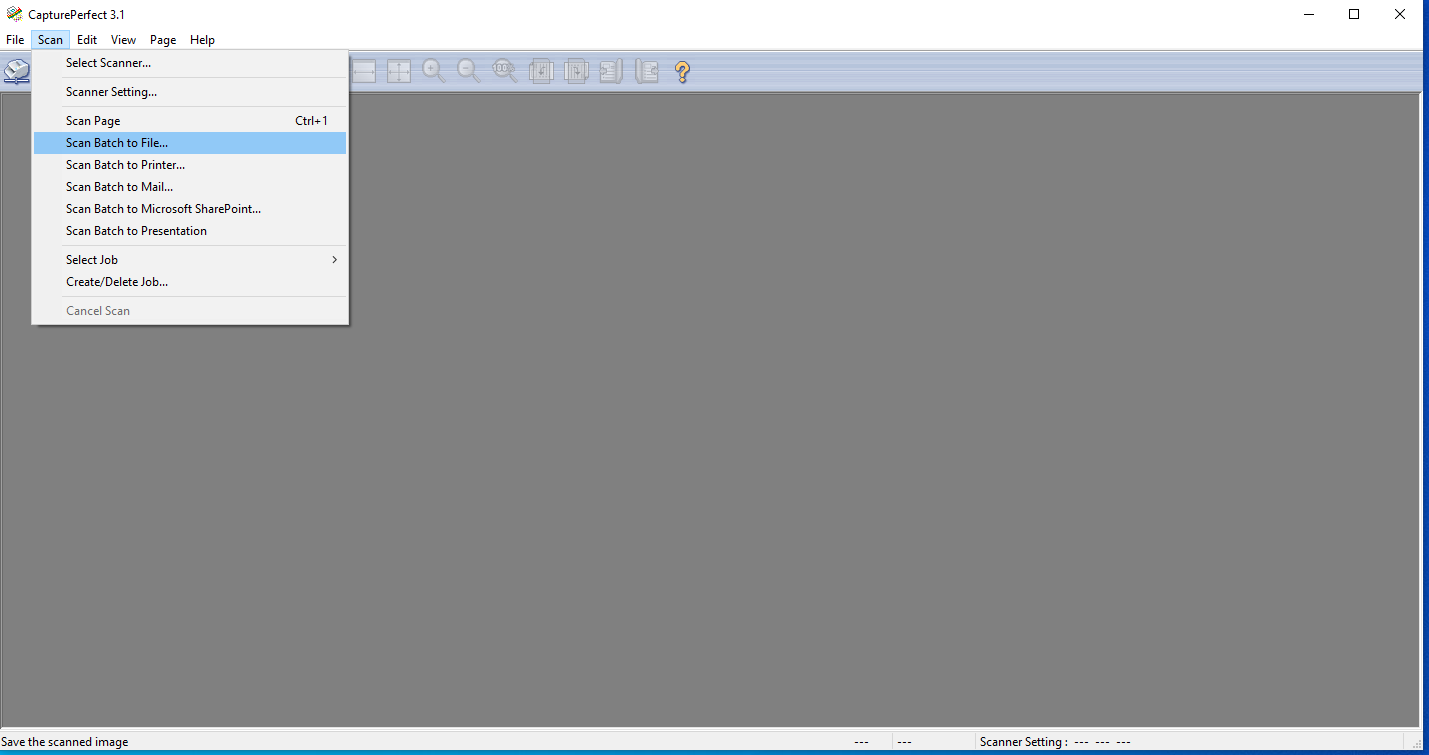
After the Canon software utility is open, from the main toolbar click Scan -> Scan Batch to File…
A “Scan Batch to File” window will open. Here you can name your document and select where to save the file.
Multi Page Scanning
If you’re scanning multiple documents, ensure that you select “Multi Page(All Pages)” from the MultiPage Settings.
When you’re ready to start scanning, click on “Save”

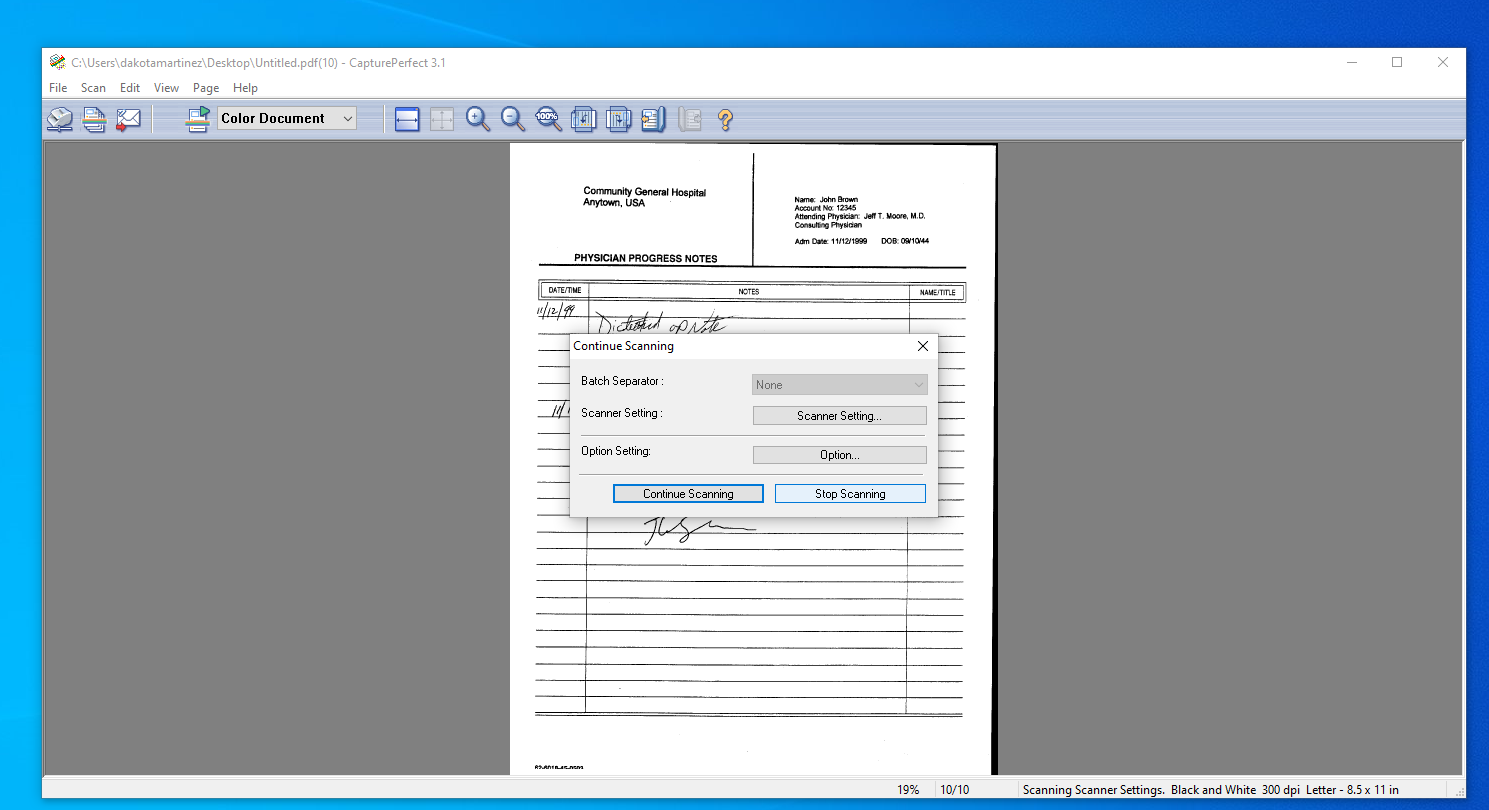
Finishing Up
After the scanner has received all of your data, you will be prompted with a new dialogue asking you to “Continue Scanning” or “Stop Scanning.”
If you have more documents for the same file, add the new documents and select “Continue Scanning”
If you’re done scanning to this file, select “Stop Scanning”
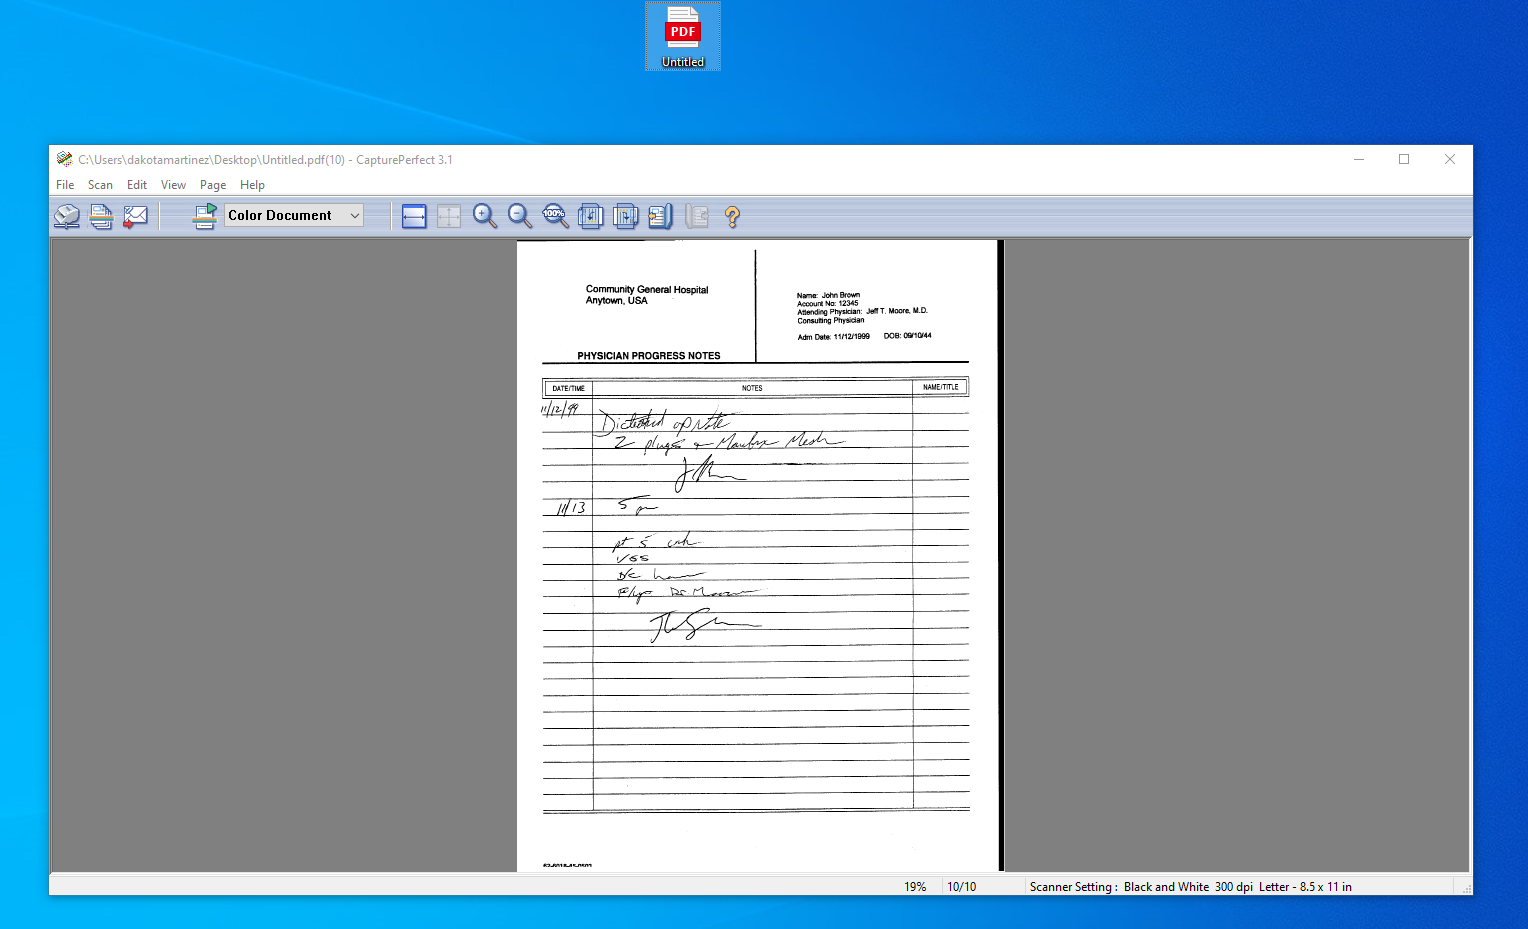
Final File
Once you are done scanning, you should be able to view the final PDF document in your selected location.